Multi-Factor Authentication In ServiceNow

Purpose:
Multi-Factor Authentication is also called 2-step verification. It will force the user to enter the more than one set
of authentications in login time.
Initially, the user is using the basic user name and password, but that is not more secure. So, we have added more
security to the user account by the 2-step verification. In this situation, the user needs to enter the passcode or
token in addition to the basic password. User/Admin mobile will generate the token/passcode through the
authenticator app. This 2-step verification is required to both users as well as Admin.
Note: Multi-Factor Authentication is supported only the Google Authenticator app.
Pre-requisite:
- Service now developer instance: https://developer.service-now.com/
- Login with admin/ any user with admin roles.
- activate the Multifactor authentication plugins
- Download the Google authenticator app on mobile.
Configuration Steps:
-
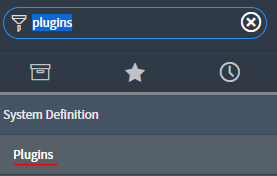
- Navigate the Plugins Modules. Click on plugins link
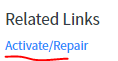
- Right click on the Plugin “Integration – Multifactor Authentication” and click on the
Active/Repair context menu.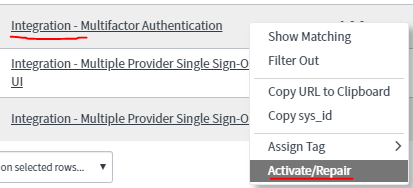 Or Open the “Integration – Multifactor Authentication” and click in related link
Active/Repair.
- Navigate the Users.
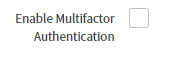
- Open the User formConfigure the Enable Multifactor Authentication Checkbox by the Right click on the
user form Header menu->configure->form Layout->Enable Multifactor Authentication.
- Which user wants to authenticate admin? Then admin can check the Enable Multifactor Authentication
checkbox from specific user form after that authenticated user can’t log in the instance without
multi-factor authentication. - Setup for Multi-factor authentication for user.
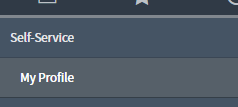
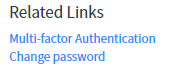
- Navigate my profile
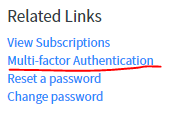
- Go to Related links -> Multi factor authentication

- Click on the Multi-Factor Authentication related link one pop-up will display on the screen and
need to Complete the Steps to enable multi-factor authentication by the below screenshot.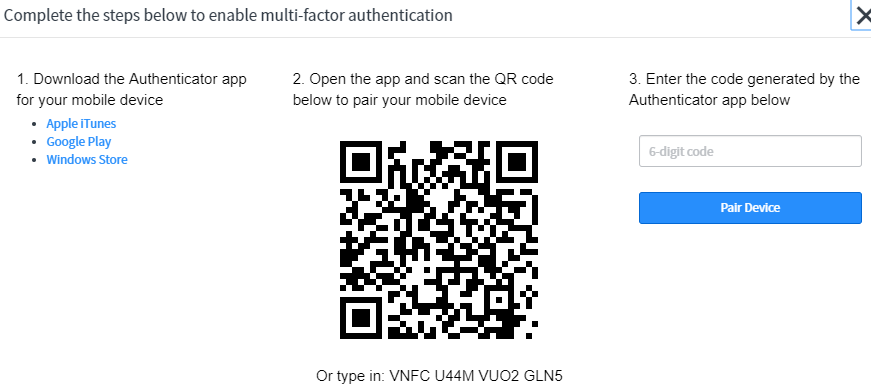
- Download the Authenticator App in mobile from Google Play store.
- Go to Authenticator app -> Click on the Three Dot right corner of the Account ->click on
the +Add account-> Click on Other account (google, Facebook)-> Scan the QR
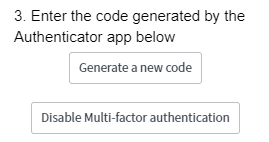
Code. If QR code is not scanning, then enter the below 16- digit QR Code in your mobile app. - QR Code will give the 6-digit User Authenticator Number. Enter the 6-digit code in below
screen.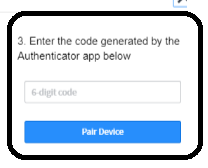
- Click on Pair Device.
- From V to VII, steps are required only the first time when the user is authenticating.
- Enter the user credentials in login window.
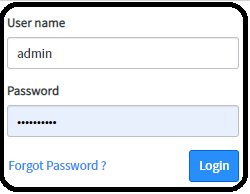
- Click on log in button then one popup dialog box will come.
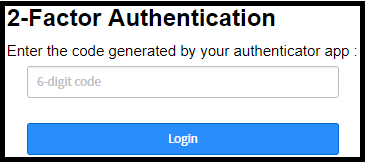
- Please open the Mobile authenticator app. For specific domain, user authentication 6-digit code
will come, and this code will refresh in every 30 seconds. - Now user can log in the successful Service now account.
- If user/admin want to disable the Multi-Factor Authentication.
- Navigate my profile. Click on My Profile.

- Click on the Multi-Factor Authentication link. One Pop up will come.
- Click on Disable the Multi-Factor Authentication button.
 I hope it
will be helpful for the users.
- Navigate my profile. Click on My Profile.
- Navigate my profile
- Navigate the Plugins Modules. Click on plugins link